 Basic mineral processing troubleshooting often requires you to obtained at least the most basic Mineralogical or Microscopy imagery data on a Size by Size base. If you are a metallurgist for a large Mining Company, you can go ahead and spend big-daddy’s money ( $5000 per sample) but if you are just a little guy or gold/general prospector (pro, amateur or hobbyist) you can not afford “the best” and if you are just looking for microscopes for kids then check out this other page.

Most small plant problems or technical issues a small miner/prospector (or metallurgist) need to research and resolve do not happen at 20um nor do they required a sexy QEMSCAN or high-powered microscope costing thousands and thousands of dollars to get you answers/data you can use.
If the problem you want to diagnose happens in the <20 micron size range, you got a real problem and you better call-in the metallurgical cavalry!
The method or Tips & Tricks am discussing here is not true mineralogy, no; this is just a basement job.
Since purchasing my new “Home Microscopy & Optical Mineralogy” microscopes, I have personally looked at froth flotation concentrates and tailings of varied metals/minerals: Sphalerite/Zinc hosted in Magnesium/Limestone-Talc and Porphyry Copper hosting Bornite-Chalcopyrite-Chalcocite. In discovering what affordable microscope would best work for me, I learnt much and want to share this here.
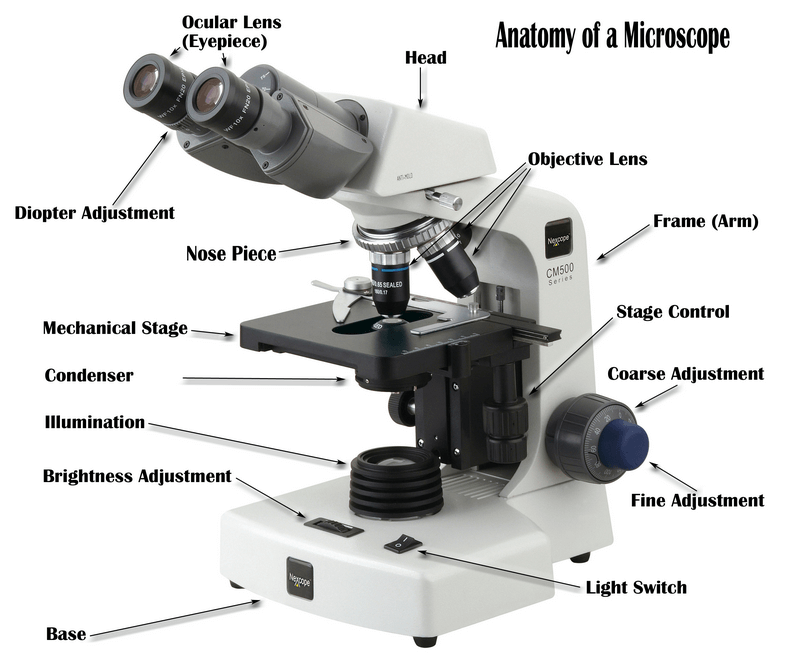 I guess as I was experimenting the dark science of Size by Size Microscopy, I discovered what I really needed by testing what I bought and returning what did not work for me. I buying and returning I realized my application was not something microscope suppliers were familiar with at all and ended up buying many scopes under poor guidance from big names like AMSCOPE which I found has good service for a crappy product (for my application anyway).
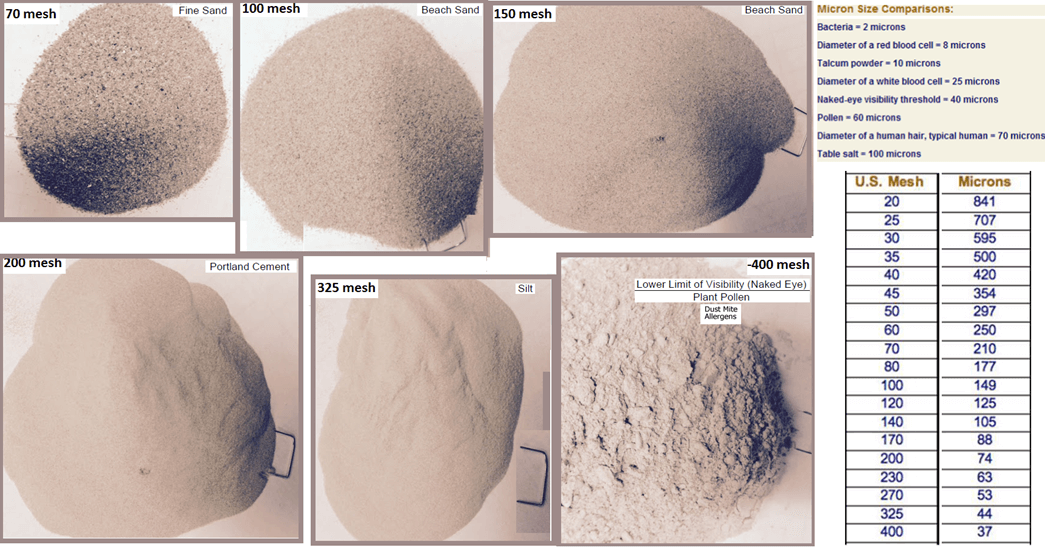
As it turns out my area or size of interest lays in the > 270 mesh (53 micron). You will find it useless to look at an unsized sample as a QEMSCAN can do. In order to get relevant data and information, you need to look at size-by-size samples under the microscope. The fact that I wanted a microscope that could record images/photos is actually want messed up my selection because the camera lense itself provide a zoom factor of usually 10X (eyepiece) and most scopes have 10X as their least powerful lense. The 10X by 10X puts all my samples under 100X zoom to start and therefore that 100x magnification am be able to only see 2mm in field; the killer as I can’t see nothing useful.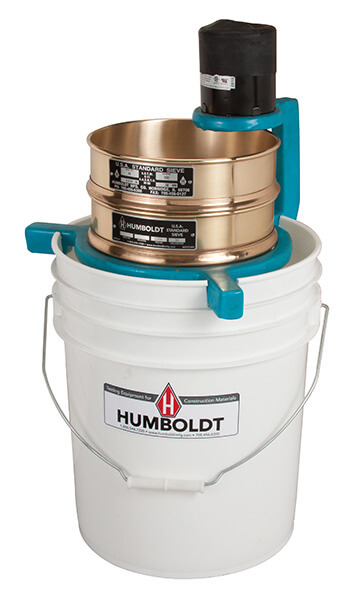
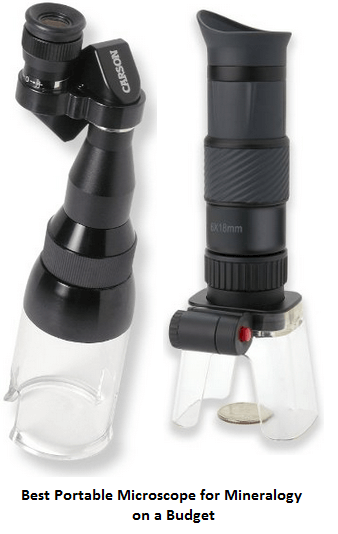
After enough trial and error I realized the maximum mineralogically useful zoom to me was 40X and at 40x magnification I will be able to see in a 5mm window. Turn in-field or on-the-fly plant work will give a metallurgist or an operator (small prospector) a great visual cue using a small 4X or 10X by Carson. About Mineralogical Process Characterisation.
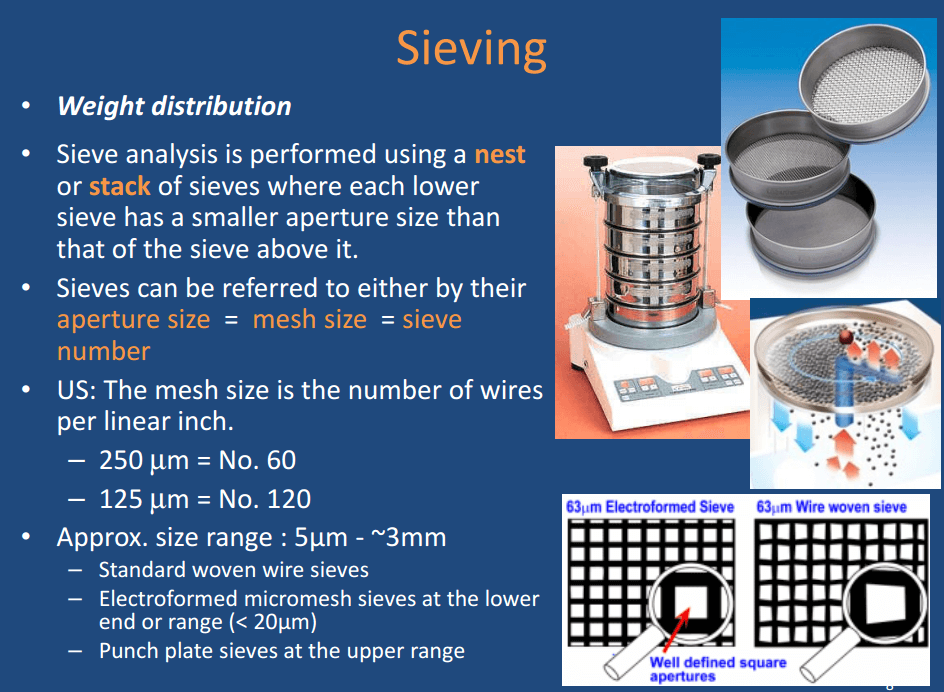
In ALL and ANY CASES, microscope work must begin with wet screening at 400 mesh to wash away a fines or clays which will blind your sight. The Simple Wet Screening Procedure requires you to wash a weighed sample of around 300 to 400 grams gently through a 400 mesh screen into a clean bucket, using cool tap water, using a gentle spray and your hands until water runs clean into bucket followed by the filtering of the plus product remaining in the screen. Once done, you with dry the +400 mesh and place the prepared screen deck (48/65/100/150/200/270/400 mesh – 300/212/150/106/75/53/38 um —> or whatever screen size interest you) on the Ro-Tap or Sieve shaker for a minimum of 15 minutes.
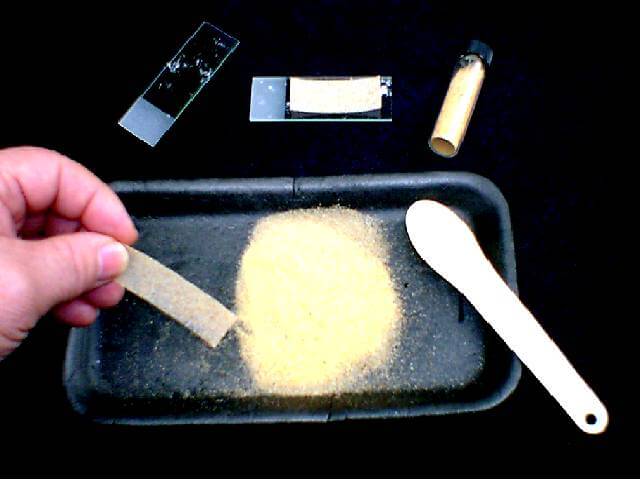
Once the 15 minutes of sieve shaking has past, you will have created small piles as seen below. Those you see here are tailings of a Zinc-sphalerite Mississippi-Valley-Deposit hosted in dolomite.
You can now look at each size fraction under any of the selected microscopes: The $50 Carson® MagniScope MA-30 or the $35 Carson MagniScope LED MA-60. Any one of these simple Microscopes has given me results/data imagery I could use. The Carsons do only allow you, for a great, on-the-fly look at any mineral/rock samples.
 |
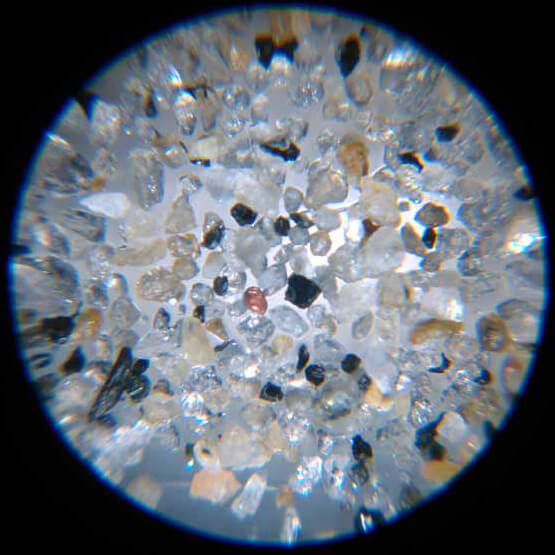
View in a CARSON + iPhone Photo |
My personal ‘poor man fancy microscopy’ favorite is the $120 Celestron Micro360. It is a real microscope anyone can use for basic size-by-size mineralogy (if you know what minerals you are looking at). The Celestron allows you picture or video (with voice recording) taking of what you are viewing.
What I like most about the Micro360 by Celestron is it Top & bottom LED illumination as well as it being Battery powered (4 AA) which do make it ultra portable a microscope. Combine that with your Laptop and you are a small time Mobile Mineralogical Laboratory. If you are viewing samples without the camera, you can start at a very handy 4X zoom and move up to 10X or 40X. Add the camera lense and magnify to 40x/64x (and overkill useless 100x/160x/400x/640x).
|
|
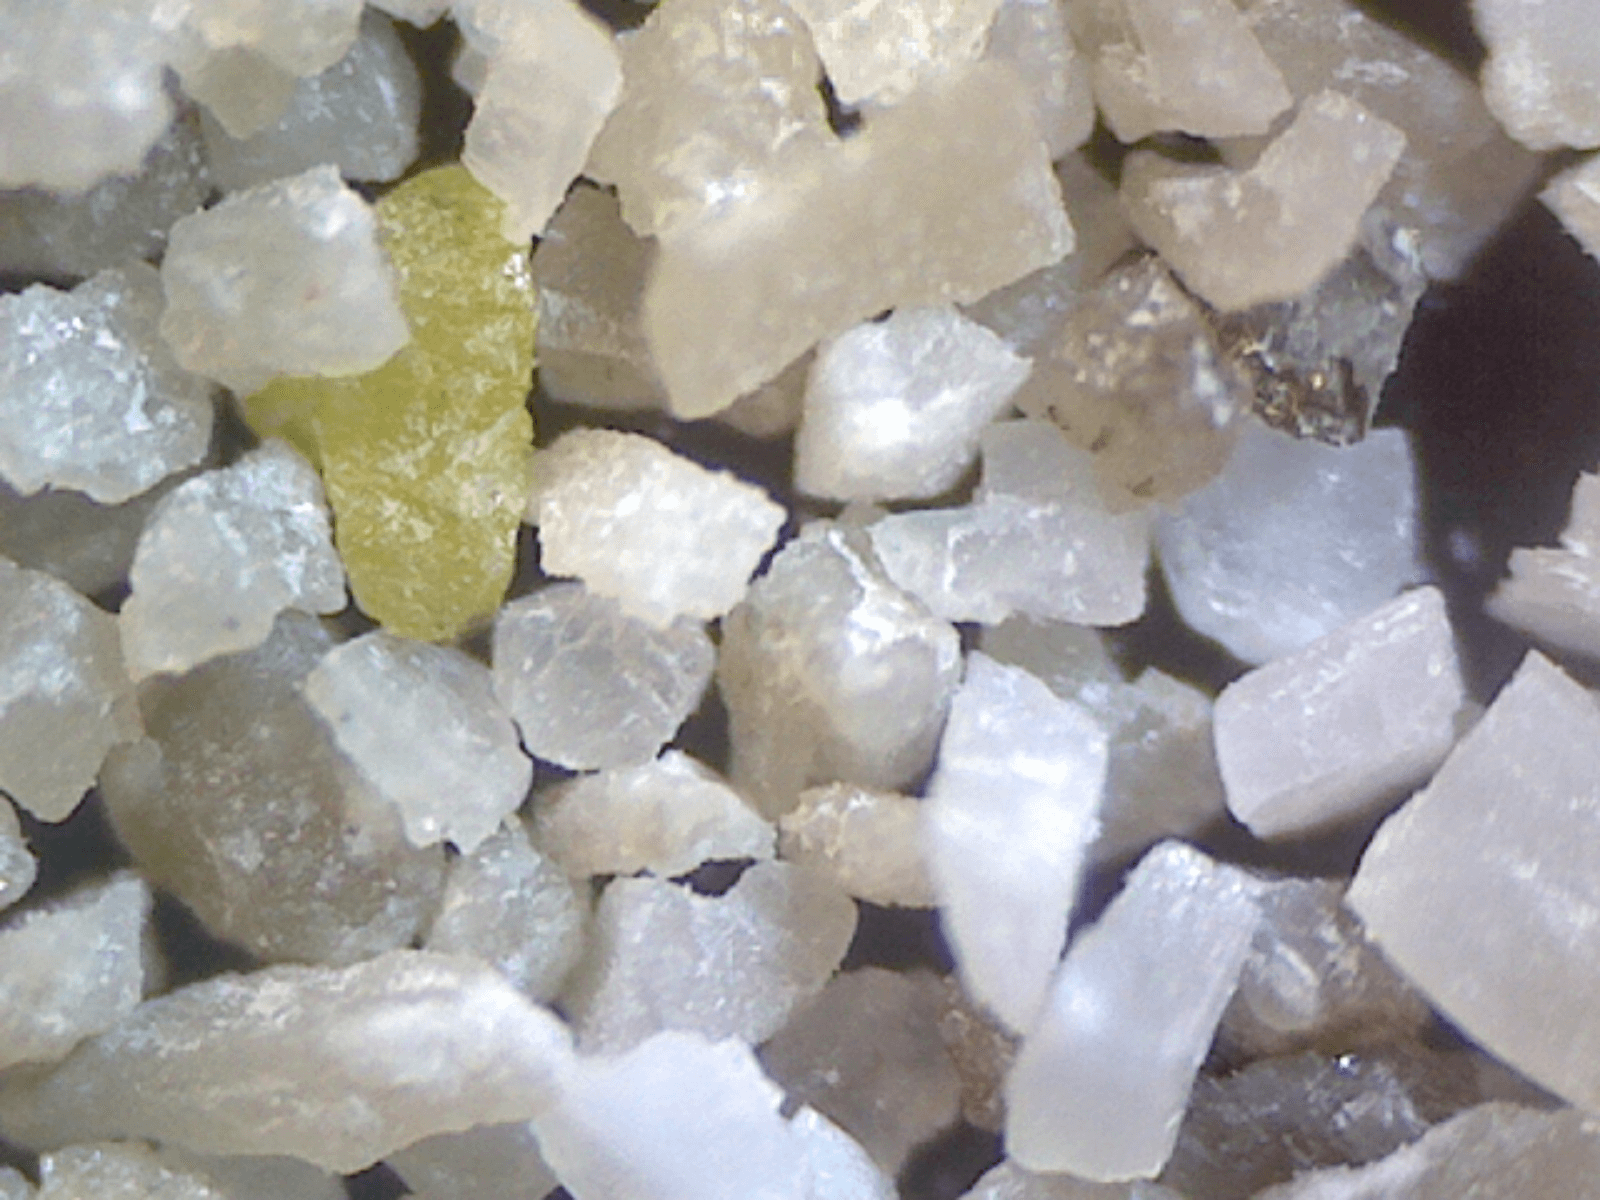
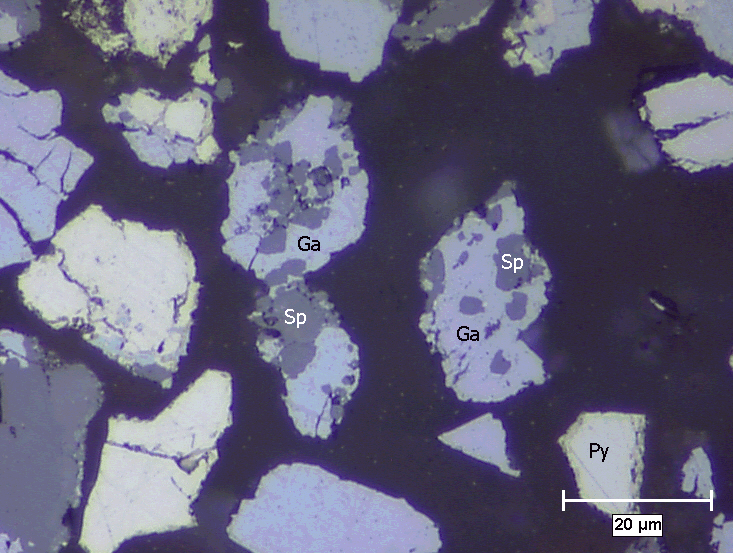
Shows Liberated Zinc/Sphalerite in the +70 mesh size |
Here I present some porphyry copper tailings sample from a froth flotation circuit. It was sized as shown and allows you to see the largest grain population of copper-chalcopyrite in the fractions greater than 270 mesh. Now those grains don’t just pop-up in your field of vision, you need to slowly scan/search for them. After you have scanned the complete slide and have done this dozens and dozens of times, you will have acquired an intuition or an ability to guesstimate what % percentage of the sample population of made of what minerals. OK, this is not going to arouse the hard-core mineralogist or give you a color codes report but it works for a fast and basic qualitative evaluation of what you are dealing with.
I have gone as far as pulverizing my samples after imagery taking and assayed them with my faithful XRF gun to corroborate my visual estimates of metal content.

Small Gold Prospectors, Miners and Processors can also enjoy and make use of my findings on DIY microscopy.
For help on how to use a microscope (don’t do what I do -read!).

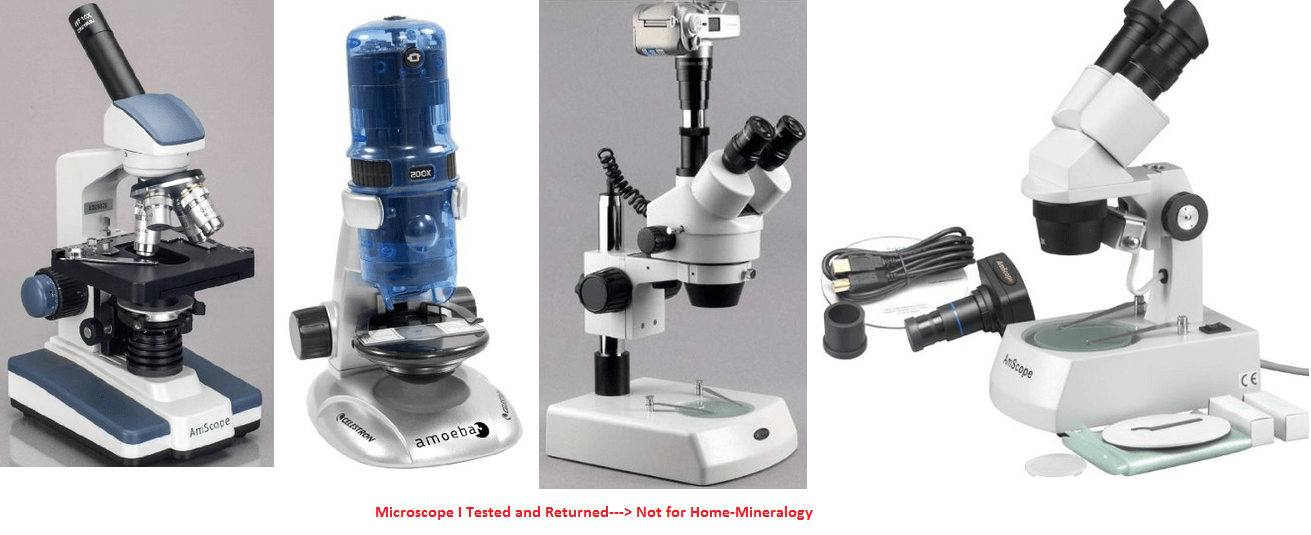
My winner microscope the Celestron 44126 Micro360+ Microscope with 2MP Imager (all imagery software included).
For fancy mineralogy work or complicated and exotic microscopy studies just click away, otherwise you have just completed the basics.
- Gold Deportment Studies
- Mineralogical Copper Flotation
- Mineralogical Description
- Monthly Mineralogy Audit
- Rapid Ore Characterisation of Supercycle Test Products from the Project X Test Work
- Techniques and Applications for Predictive Metallurgy and Ore Characterization using Optical Image Analysis
https://web.stanford.edu/group/Urchin/introm.htm
https://www.microscope-microscope.org/advanced/magnification-1.htm
https://microscopetalk.files.wordpress.com
