Table of Contents
Fire Assay is the most common technique for analyzing precious metals was developed and refined almost to perfection before the 15th century (5). Government, mining and smelting companies, private analytical laboratories, universities, and geochemical exploration companies depend on fire assay techniques to produce accurate results. Fire assaying has been adopted by the court system as the preferred method for analyzing precious metals in legal disputes.
This paper describes practices for analyzing precious metals that are used at the Reno Research Center of the Bureau of Mines. Areas discussed are:
- A general description of fire assaying. A typical fire assay analysis from start to finish is described.
- The layout of a fire assay laboratory.
- The combination of fire assay and sophisticated scientific instruments simplifies the analysis of selected platinum-group metals, and decreases the detection limit for gold and silver.
- Methods for protecting personnel from ingestion of lead.
Bugbee’s book, “A Textbook of Fire Assaying” (2), which is referred to as the bible of fire assaying, defines fire assaying as: “an ancient form of quantitative analysis by which metals are separated and determined in ores and metallurgical products with the aid of heat and dry reagents.” To better understand Bugbee’s definition, a series of pictures which segments a fire assay into approximately 25 separate steps is presented.
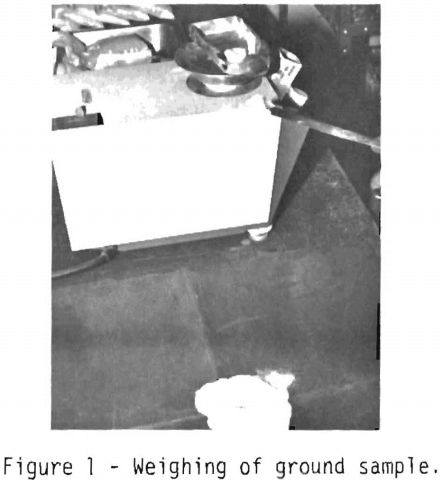
Figure 1 shows the sample being weighed on a top loading balance to an accuracy of ±0.1 gram. In fire assay analysis a factored weight is used, so that each milligram of a noble metal in the sample is equivalent to one troy ounce in one avoirdupois ton (2,000 lb). Since one avoirdupois ton contains 29,167 troy ounces, the factored weight used is 29.167 grams, which is referred to as one assay ton. The sample is pulverised to minus 100 mesh and rolled on a rubber cloth 60 to 80 times to insure homogeneity.
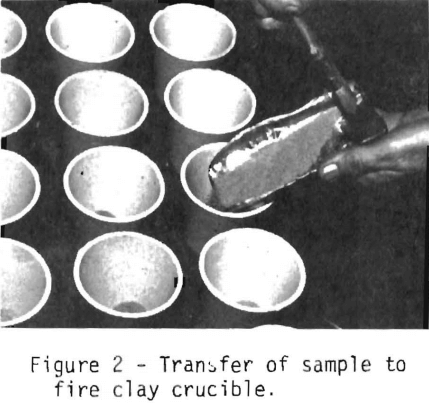
Figure 2 shows the weighed sample, one assay ton, being transferred to a fire clay crucible. The Bureau uses a 30-gram crucible which will hold a one assay ton charge, and the reagents which are added to fuse the sample. These crucibles can be used for more than one analysis if crucible contamination is not suspected. Some of the crucibles have been used as many as 10 times.
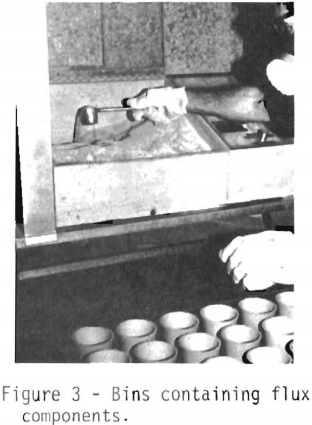
Figure 3 shows the bins which contain the flux components used to fuse the samples. Most ores will not fuse, but if the ore is pulverized to minus 100 mesh and mixed in proper proportions with suitable flux components, the mixture will fuse.
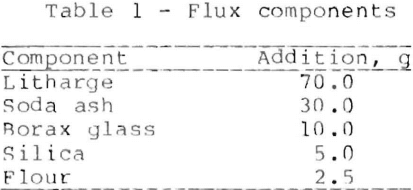
For a one assay ton neutral ore, one which has no reducing or oxidizing power, the approximate amounts of flux components are shown in table (1,2,6) .
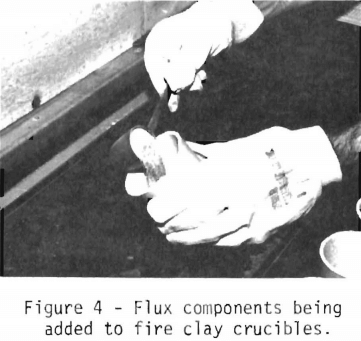
The flux components are premixed in 100-lb batches and homogenized in a rotating mixer for one hour. A scoop, which is calibrated to deliver the correct amount of homogenized flux, is used to transfer the blended flux from the bin to the fire clay crucibles. Figure 4 shows the homogenized flux being added to a crucible containing the one assay ton charge.
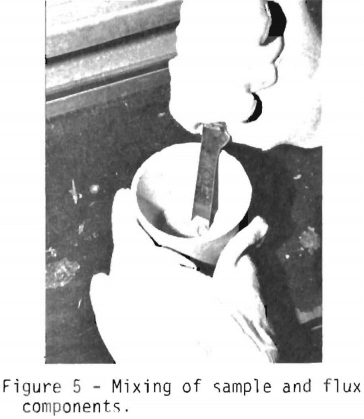
Figure 5 shows the sample and the flux being mixed. The ore and flux are intimately mixed in order to insure proper fusion. Another method of mixing is to put a rubber stopper on the crucible and to shake the contents vigorously.
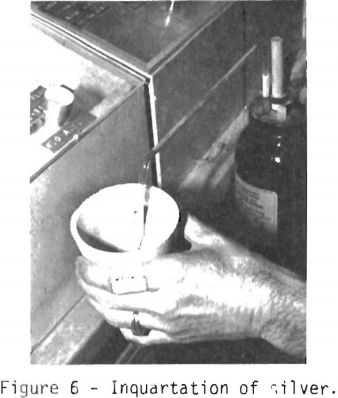
Figure 6 shows a known amount of silver in the form of silver nitrate being added to the mixed charge. This process is called inquartation. Inquartation provides a bead which is
easy to manipulate while weighing and with a high enough silver-to-gold ratio so that parting of the silver from the gold can be accomplished with nitric acid.
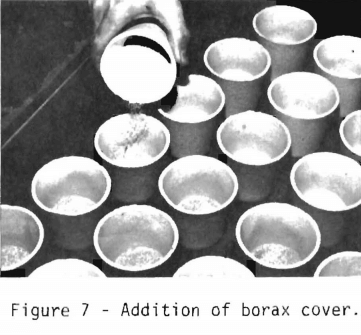
After the sample has been mixed and the silver added, a borax cover is sprinkled on top of the mixed charge as indicated in figure 7. Since the borax melts before the rest of the charge, it prevents dusting loss of fine ore particles and forms a viscous layer on the top of the charge. The borax enters the slag during the fusing process.
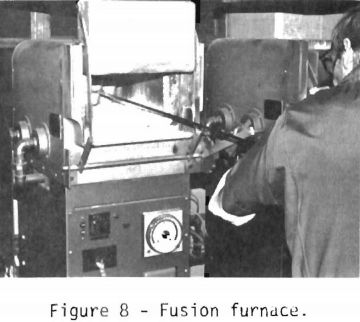
After the borax cover has been sprinkled on top of the mixed charge, the crucibles are ready to be put into the fusion furnace shown in figure 8. The Bureau has three gas-fired furnaces. Two are used for fusion, and the third is used for cupellation. Since the fusion furnaces can hold twelve 30-gram crucibles, the Bureau has the capacity to fuse 24 samples at a time. The samples are fused at a temperature of 1,050° to 1,100° C. When the temperature of the mixture is gradually increased, some of the litharge (PbO) is reduced to lead by carbon monoxide produced by combusion of the flour in the charge. A mist of lead droplets will begin to trickle through the charge. The lead droplets will alloy with any noble metals in the sample and coalesce at the bottom of the crucible. The sample is fired for one hour.
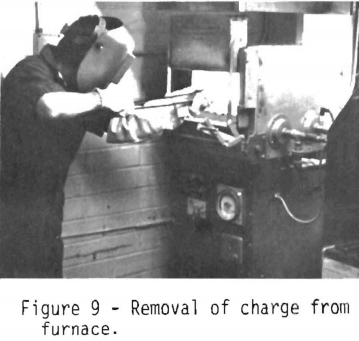
After the fusion is complete, the samples are ready to be removed from the furnace as shown in figure 9. The bottom of the crucible is tapped lightly to remove any adhering bone ash which is used to protect the hearth from spillage, and the melt is swirled gently to insure the right consistency. Figure 9 also shows the heat protective equipment worn by the assayer.
After swirling the crucible, the melt is poured into a conical iron mold shown in figure 10. A clean separation of the lead borosilicate slag and the lead containing the noble
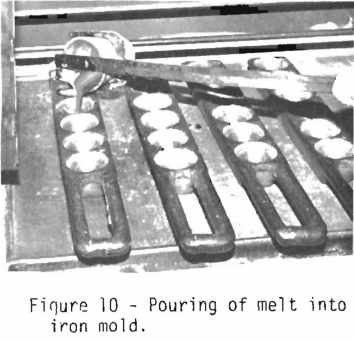
metals is very important. The homogeneous slag should separate easily from the lead and indicates complete decomposition of the ore. The inside of the crucible should be examined for any undecomposed material which, in fire assay terminology, is called “shot.” If there is evidence of shot, the assay will probably have to be rerun with a different mixture of flux components.
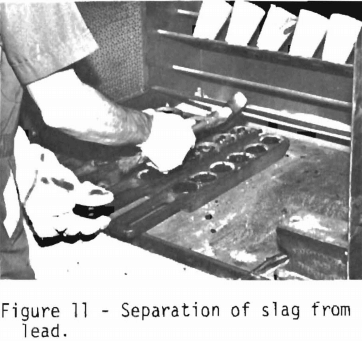
When the melt has cooled, the slag is separated from the lead (figure 11). This is accomplished by tapping the iron mold with a hammer. The glass slag will shatter. The lead button containing the noble metals is in the bottom of the mold. A lead button weighing between 20 and 35 grams is preferred.
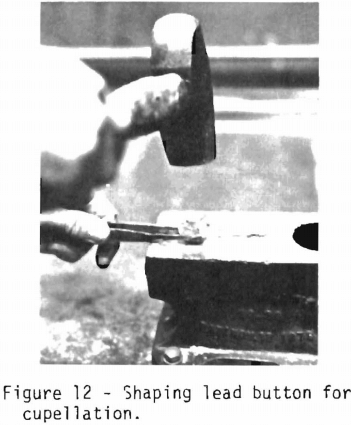
The lead button is removed from the iron mold, hammered into a cube to remove adherent slag to provide a button which can be handled with tongs. Figure 12 shows the preparation of the lead button for cupellation.
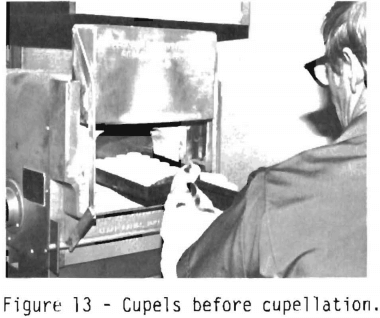
Figure 13 shows a tray containing vessels which are called cupels. These porous vessels have the property of separating the noble metals from the lead. The cupels are put into the cupellation furnace and heated at 800° to 850° C for 15 minutes. This heating drives off any trace of moisture and preheats the
cupels. The Bureau uses magnesite or bone ash cupels which are 1-½ inches in diameter and can handle a lead button weighing 40 to 45 grams. During cupellation the lead is separated from the noble metals. The lead melts and oxidizes to molten lead oxide. The cupel will absorb the lead oxide. The noble metals form a metallic bead.
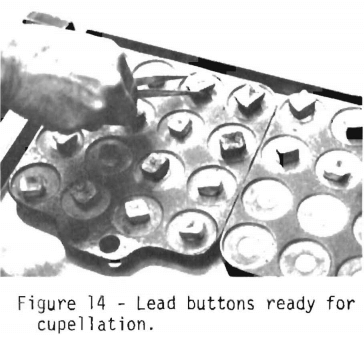
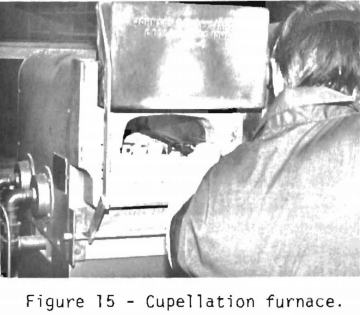
The buttons are squared for ease of handling with tongs and are free of slag material. The cupellation furnace is the same as the fusion furnace, but has a muffle which has two exhaust ports to provide a path for the flow of air to oxidize the lead.
The cupels are preheated in the furnace (figure 15). The furnace temperature at the start is 950° C. When the lead melts or, in assayer terms, “opens,” the furnace door is opened slightly and the temperature is decreased to 840° C to drive off the lead. For a lead button weighing approximately 30 grams, between 45 and 60 minutes are required to convert the lead to lead oxide.
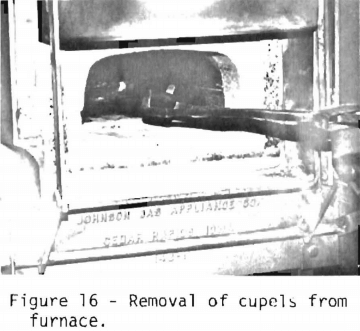
Figure 16 shows the cupels containing the noble metals being removed from the furnace. The cupel will absorb approximately 95 to 98 pet of the lead. The other 2 to 5 pet will volatilize; thus an adequate exhaust system for the lead oxide is very important.
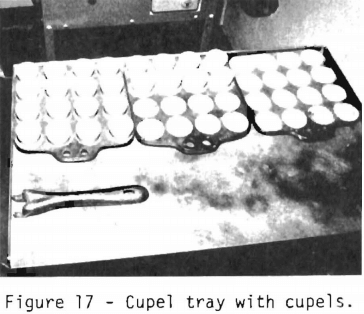
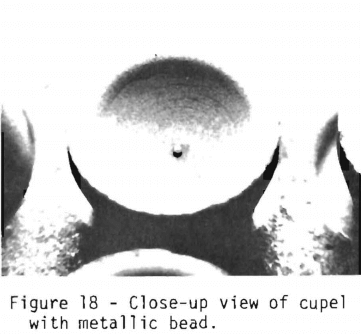
Figures 17 and 18 show the cupels with litharge absorbed and the metallic bead consisting of the noble metals. The bead weight in milligrams is equivalent to the total number of troy ounces of noble metals per ton of ore.
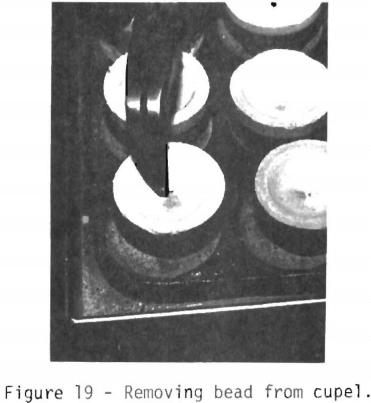
The next two steps are to prepare the bead for weighing and to separate the silver from the gold. Figures 19, 20, and 21 show how the procedure is accomplished. The bead is removed (figure 19) with needle-nose pliers. The bottom of the bead is cleaned with a stiff wire brush to remove any cupel material.
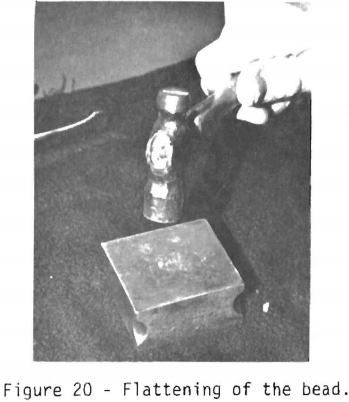
The bead is flattened (figure 20). Flattening the bead facilitates handling during weighing, and provides more surface area for dissolution of the silver from the gold during the parting stage. The bead is transferred to an electrobalance (figure 21). The balance should be accurate to 0.001 mg which is equivalent to 0.001 oz/ton.
After weighing the bead, the weight, which is referred to as the dore weight, is recorded, and is equivalent to the
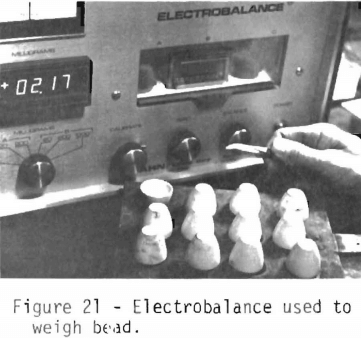
amount of gold and silver in the original sample and the amount of silver added. The dore weight is usually reported to the nearest 0.01 mg, because this is the approximate accuracy of the added silver inquartation. In the example (figure 21), the dore weight is 2.17 mg. Since approximately 2 mg of silver were added during inquartation, the total amount of noble metals in the ore is approximately 0.17 oz.
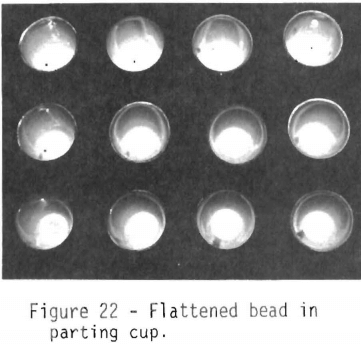
After the dore weight has been recorded, the silver is separated from the gold. This step is called “parting.” The flattened bead is transferred to a small porcelain crucible. The crucibles are referred to as parting cups and have a 10- to 25-ml capacity (figure 22).
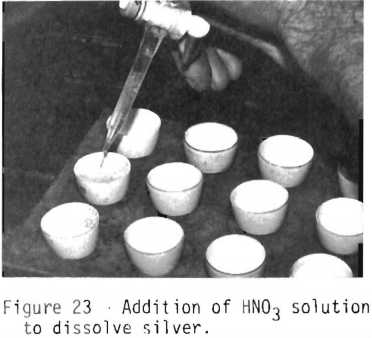
Figure 23 shows the addition of nitric acid (1 HNO3: 4 H2O) to the parting cups. The cups are placed on a hotplate and heated. The nitric acid solution will dissolve the silver and leave a black speck which is the gold in the sample. For the silver to be completely parted from the gold, a ratio of at least 4 parts silver to 1 part gold is required. If the gold and dore weights show that the silver-to-gold ratio is less than 4 to 1, the bead will have to be reinquarted with the proper amount of silver, wrapped in lead foil and recupelled.
After the silver has been dissolved by the nitric acid solution, the trays containing the parting cups are removed
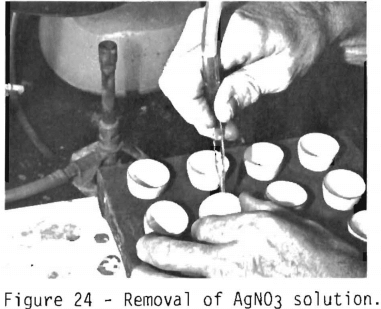
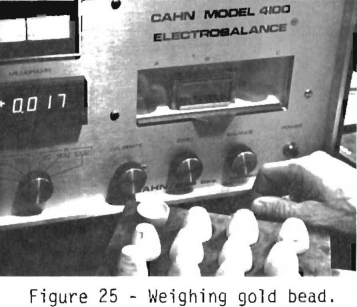
from the hotplate and cooled. The silver nitrate solution is removed by aspiration (figure 24). The gold bead remaining in the crucible is washed and annealed on a hotplate to consolidate the gold, transferred to the electrobalance, and weighed to the nearest 0.001 mg.
In the example in figure 25 the weight of the bead is 0.017 mg, which is equal to the ounces of gold per ton of ore, if an assay ton, 29.167 grams of ore, is assayed. The gold weight, 0.017 mg, and the silver added, 2.00 mg, is subtracted from the dore weight, 2.17 mg. The difference, 0.15 mg, is equal to the ounces of silver per ton of ore.
HOW TO USE FIRE ASSAY AND INSTRUMENTAL TECHNIQUES
The preceding discussion described a typical fire assay analysis. By combining the old, reliable, and accurate method with modern analytical techniques, the platinum-group metals (PGM) or lower detection limits for gold and silver for geochemical surveys can be obtained.
The fusion and cupellation steps for the following methods are the same as those used in a standard fire assay technique. The dore bend, instead of being weighed and parted, is analyzed by one of the following methods: atomic absorption (AA), induction coupled plasma/atomic emission spectroscopy (ICP/AES), or emission spectroscopy (ES). A brief description of each method follows.
Atomic Absorption AA
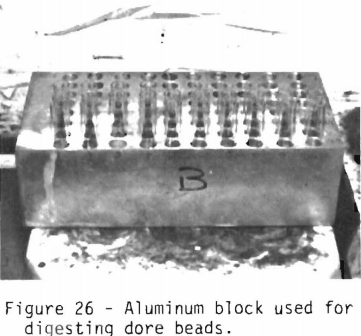
For the analysis of the PGM, the sample is inquarted with 0.2 mg of silver. For low level gold and silver analysis, 1 mg of palladium is used for inquartation. After cupellation, the bead is transferred to a glass test tube, approximately 12 mm by 110 mm. The test tube is transferred to an aluminum block (figure 26). Approximately 2 ml of aqua regia is added to the tube, and the bead is digested on a hotplate at a low setting. After evaporating the sample to dryness, 5 ml of 50 pet HCl and 2 pet copper is added. The solution is analyzed on a Perkin Elmer 403 spectrophotometer utilizing the instrumental parameters shown in table 2 (figure 27). Standards are prepared in

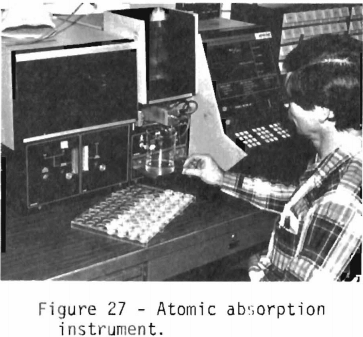
an identical matrix and include the ranges 0.3 to 30 µg/ml for gold and palladium and 1.0 to 100 µg/ml for platinum.
Induction Coupled Plasma/Atomic Emission Spectroscopy
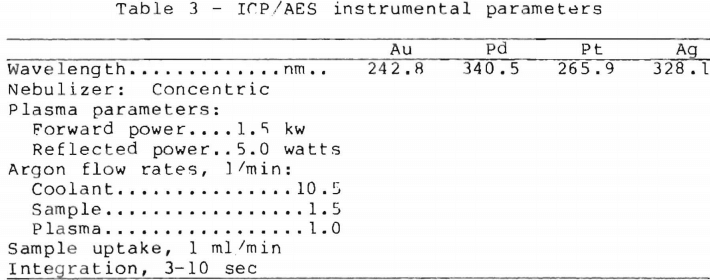
In ICP/AES analysis, the silver or palladium bead is digested in the same manner as the AA procedure and 5 ml of 30 pet HCl is added to dissolve the dried material. Analysis is performed on an Applied Research Laboratories Model ICPQ 137100 (figure 28) using the operating parameters shown in table 3. The advantage of the Bureau’s ICP/AES over AA is that the noble metals are analyzed simultaneously. With AA analysis each noble metal is analyzed separately.
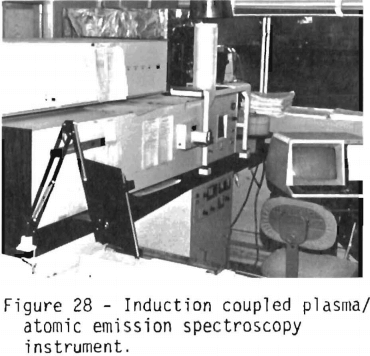
ICP is a new analytical technique which involves the analysis of liquid samples with an inductively coupled plasma as the excitation source for an atomic emission spectrograph. Some ICP/AES systems will make simultaneous determinations of solutions.
Emission Spectroscopy
In ES, the charge is inquarted with 10 mg of silver. Th bead is analyzed for gold, platinum, and palladium by optical emission spectroscopy with a Jarrell Ash 3.4 meter Wadsworth/ Mount spectrograph (7) which is shown in figure 29 .
The instrumental parameters used are shown in table 4. Elemental concentrations are determined from measurements made on a Jarrell Ash scanning microdensitometer.
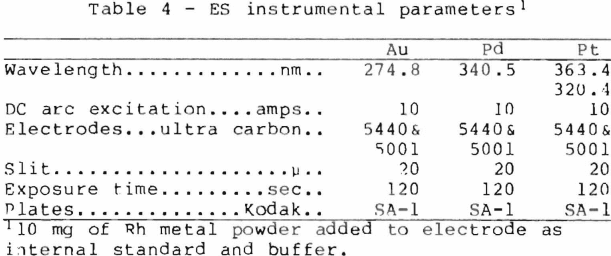
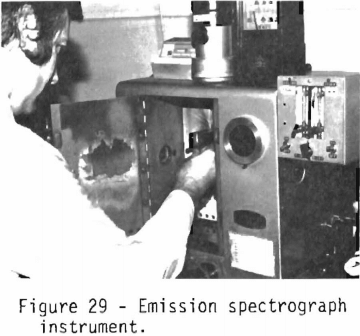

Table 5 gives the detection limits of each of the four methods which were discussed. The detection limits are based on a one assay ton sample. By using fire assay in combination with instrumental analysis, the detection limits for the noble metals are greatly decreased. Except for geochemical surveys, the detection limits for gold and silver in a typical fire assay analysis are adequate for the majority of samples.
PROTECTION FROM LEAD INGESTION
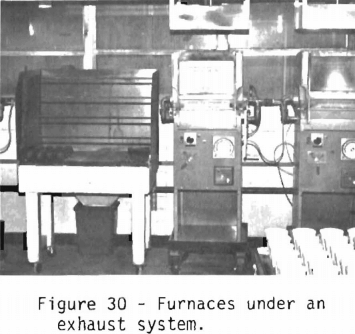
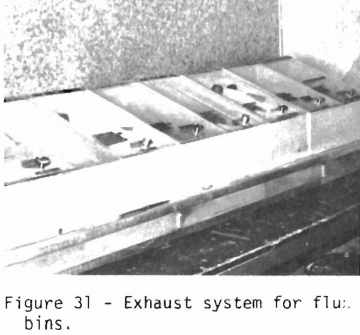
Methods to protect personnel from the ingestion or inhalation of lead are an integral part of the fire assaying laboratory. Figure 30 shows that all the furnaces are under a hood system. Behind the furnaces are two window exhaust fans which are not visible. Directly behind the assayer, fresh air is brought in and flows across the room and out the exhaust system. Lead dust or lead fumes are always moving away from the assayer. Another possibility for ingesting or inhaling lead is during charging or mixing the flux in the crucible. Figure 31 shows an exhaust system located below the flux bins that keeps the dust away from the assayer. The flux bins are under an exhaust hood. The assayer also wears a respirator and gloves.
Air sampling required under the Occupational Safety and Health Act is also performed. The permissible exposure limit states that no employee can be exposed to lead at concentrations greater than 50 micrograms per cubic meter of air (50 µg/m³ ) averaged over an 8-hour period (4). All analyses have been considerably less than 50 µg/m³.
To determine if an employee has absorbed any lead, the employee is monitored quarterly for urine lead and semiannually for blood lead. The allowable index of lead absorption in blood is <40 µg/l (4) and that of urine is <80 µg/l (3). Monitoring has shown no significant levels of lead in our employees.
