Setup an iCON i150 IGR100 Gravity Gold Plant and get some NON Chemical Gold Recovery.
Here we’ll be guiding you step by step in putting together and operating an IGR100 Plant.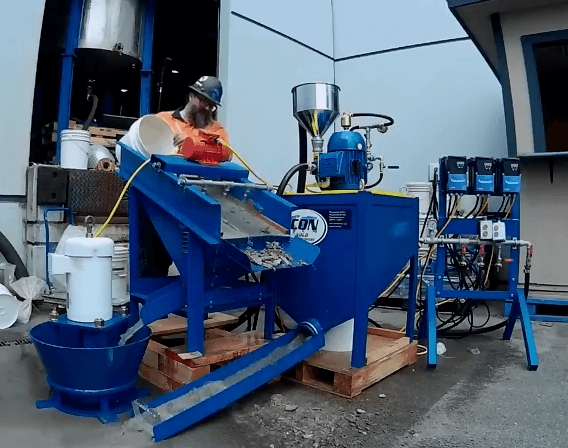
The IGR100 Plant is a modular self-contained gold recovery system. It uses classification and enhanced gravity to assure recovery of the finest gold material and the largest gold nuggets.
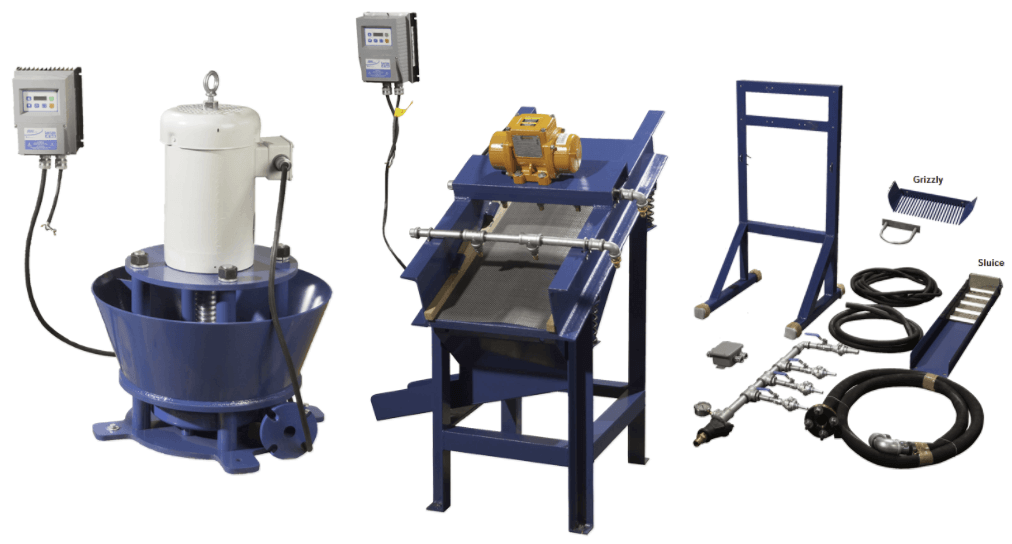
The IGR100 plant consists of the following pieces of equipment: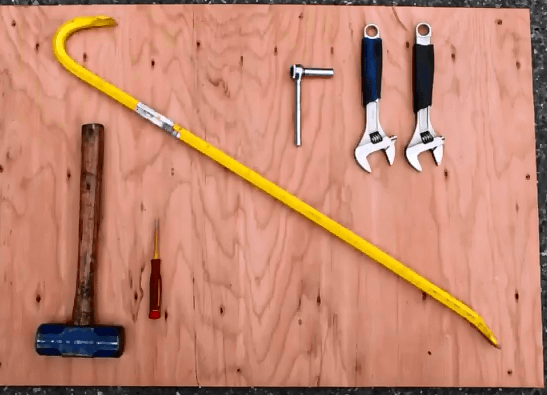
- i150 gravity concentrator
- iPump
- iScreen
- Mini grizzly
- Sluice
- Control station
To begin the IGR100 installation, we will need the following tools on hand:
- monkey wrench
- socket wrench
- crowbar
- hammer
- screwdriver
The IGR100 will arrive shipped in 3 separate containers.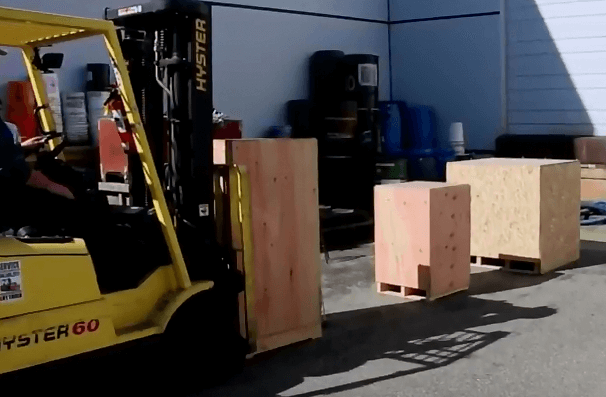
Carefully disassemble each container and remove the individual equipment pieces.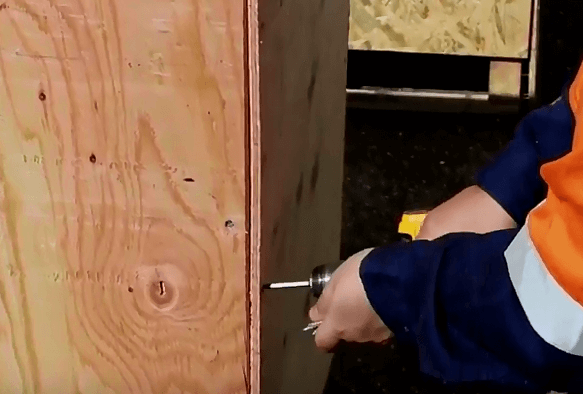
Each primary unit comes with a variable frequency drive and the necessary bolts and materials to connect all components together.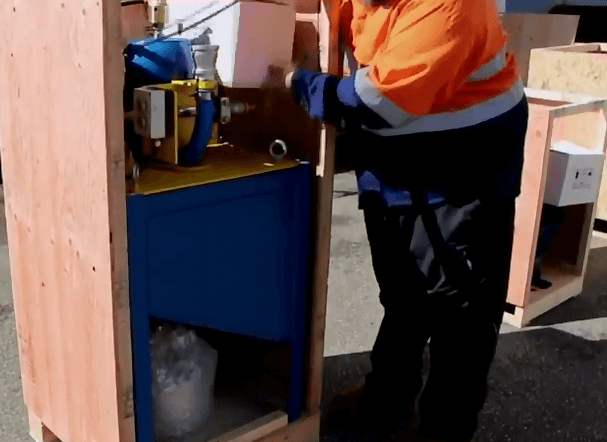
Identify a safe location to operate the IGR plant and refer to your provided engineering drawings and photos for the standard configuration and layout of the plant.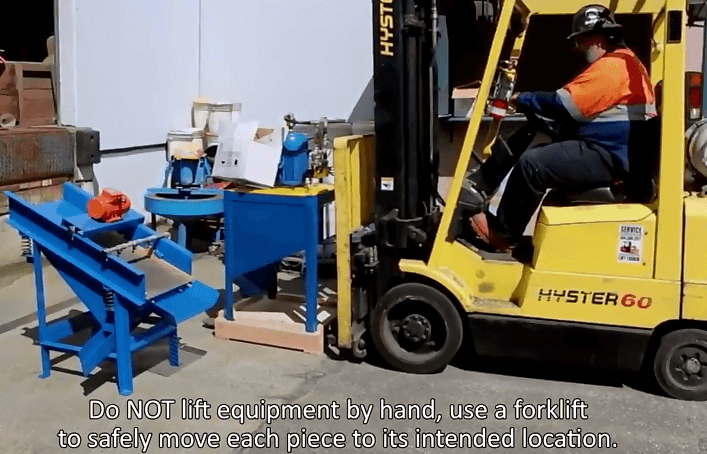
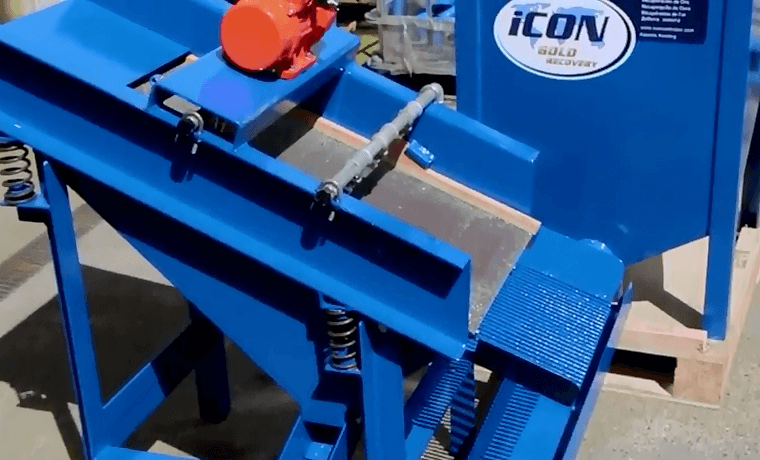
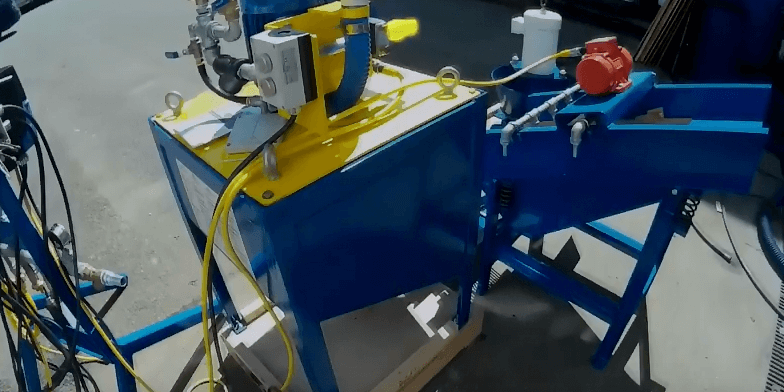
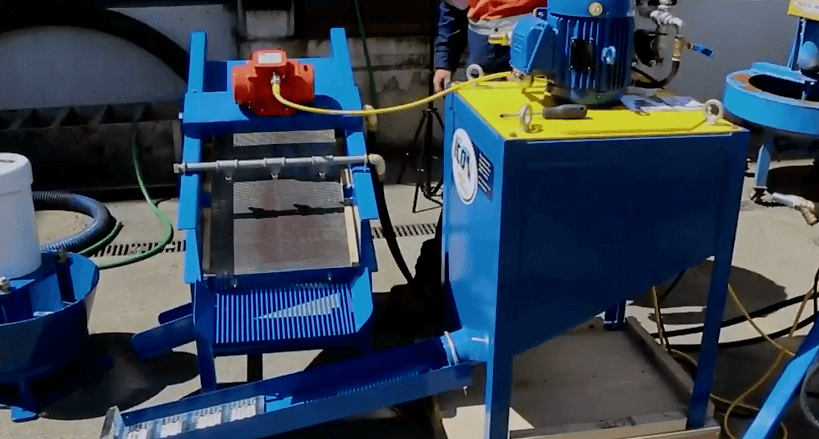
The plant needs to be oriented so that the outlet of the screen feeds into the pump.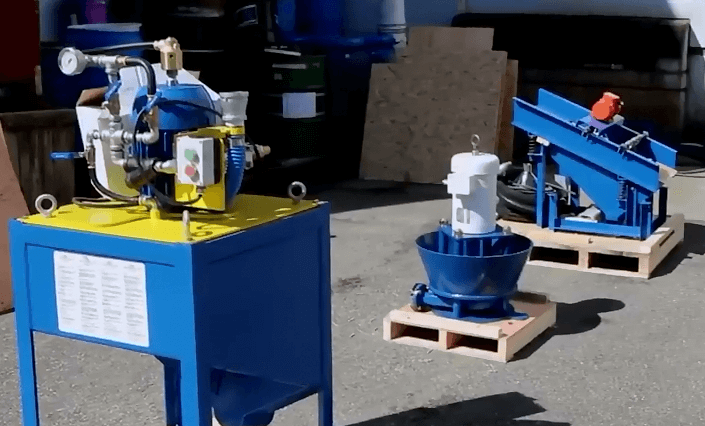
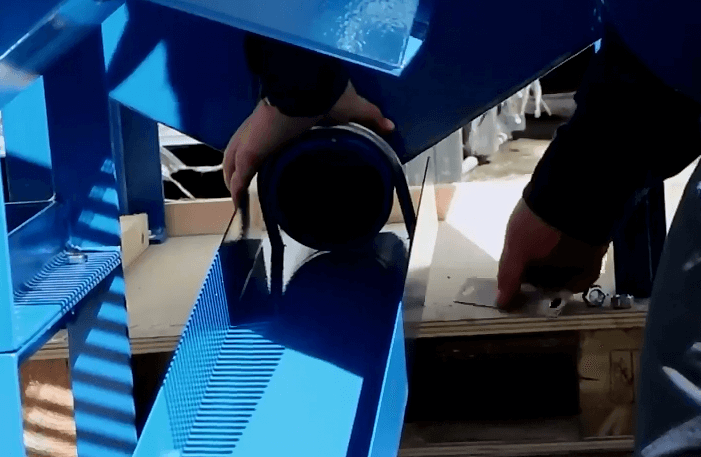
The sluice attaches to the tails outlet on the concentrator.
 |
 |
The screen must be located with the finger grizzly above the sluice.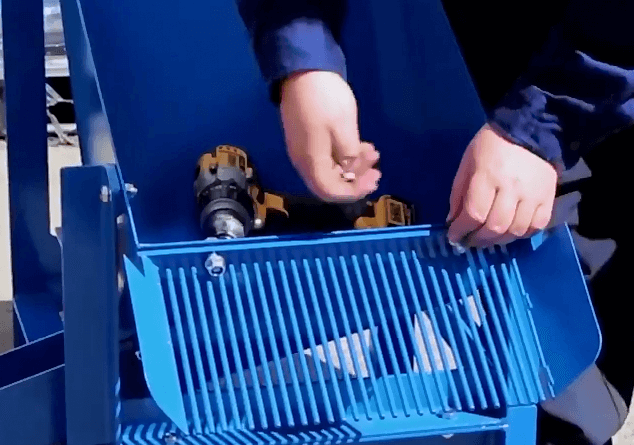
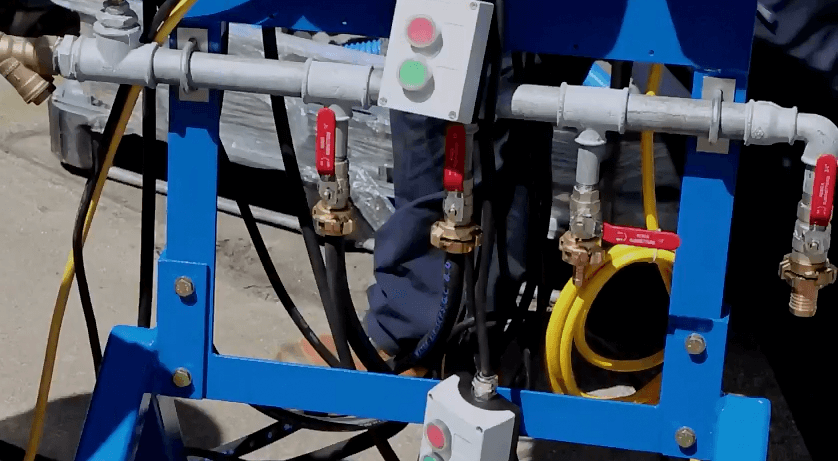
The control station includes the water distribution manifold.
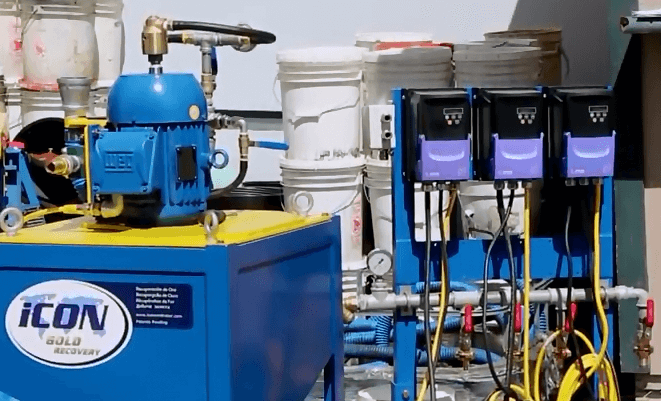
The large barb on the left-hand side is the clean water connection.
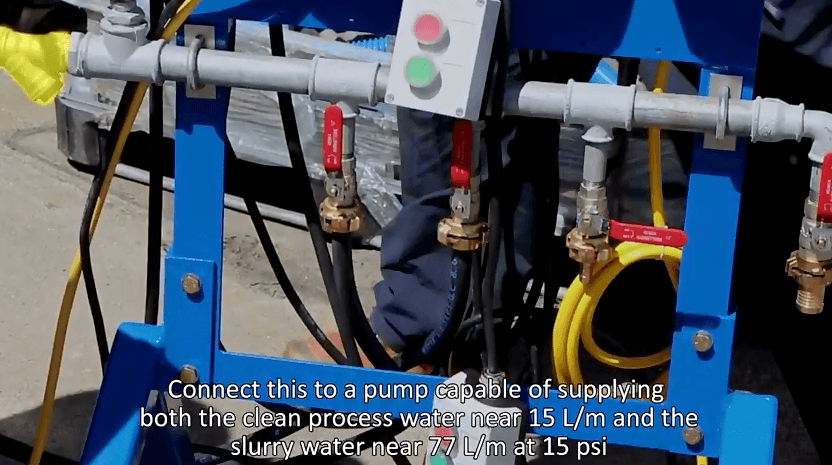
Using the large diameter hose supplied, connect the large valve from the manifold to the brass barb on the concentrator.
 |
 |
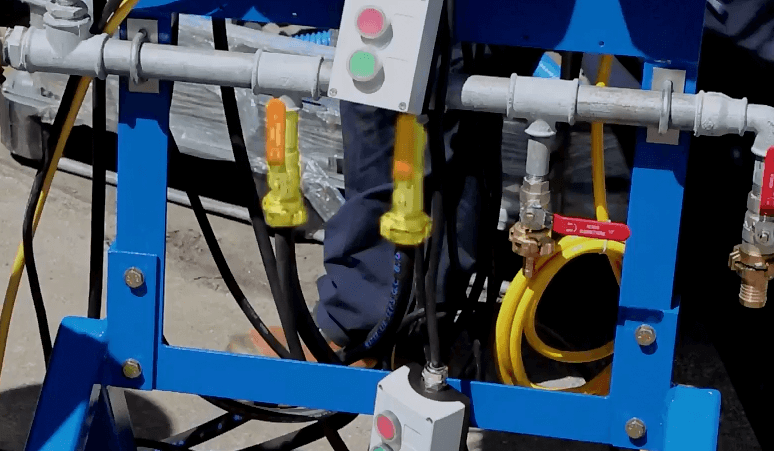
Using the small-diameter hose supplied, connect two valves that match size barbs on the screen.
 |
 |
Open the valves sufficiently for the spray to fan across the whole width of the screen. There is an additional valve included on the distribution manifold.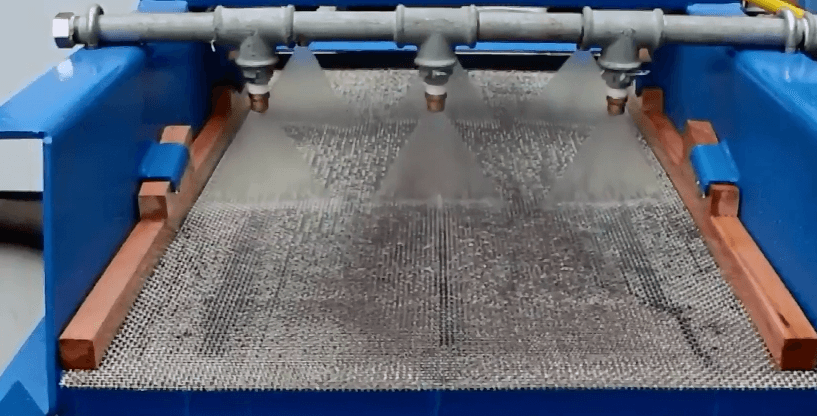
Mount the 3 VFDs on the stand, using the nuts and bolts supplied.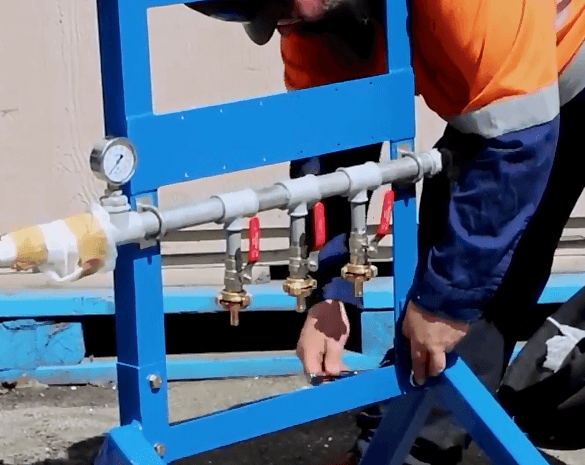
Using the supplied three conductor wire, cut 3 lengths to fit from the distribution box to each of the VFDs.
Use the remaining 3 conductor wire to connect the user supply to the distribution box.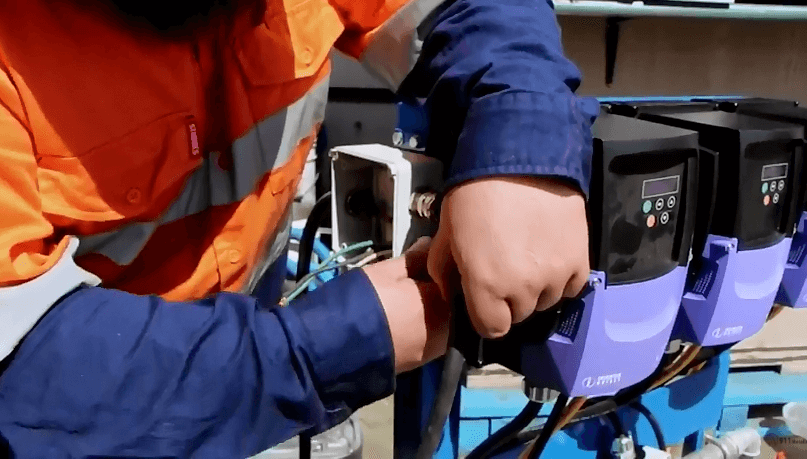
Inside of the distribution box, join the 4 green wires together using the wire nuts or electrical tape.
Join each of the other matching colors together using either wire nuts or electrical tape.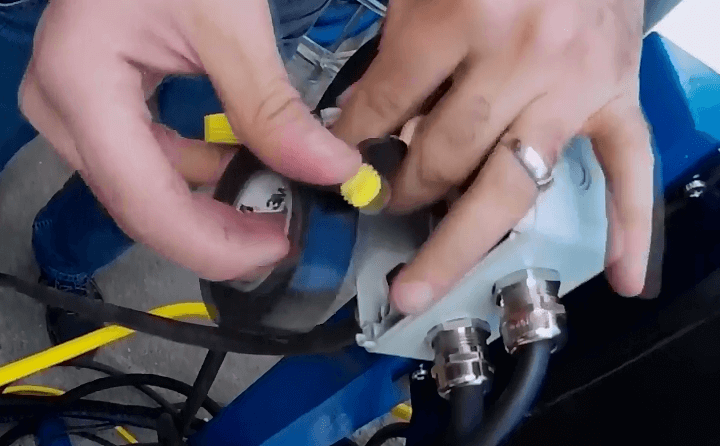
Join the 3 conductor supply wires inside of each VFD.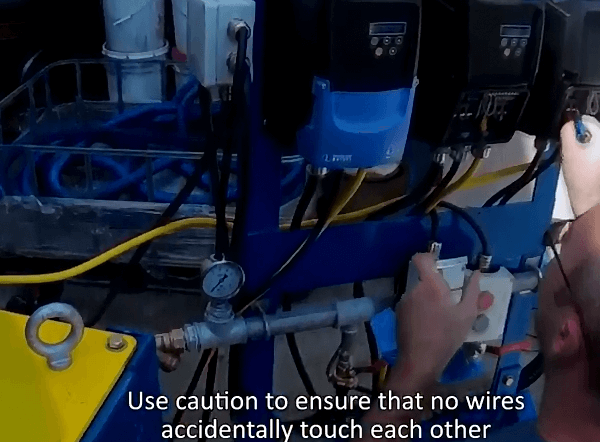 As the electrical plugs add room for error, it is recommended to test each item connected directly to the VFD prior to using the plugs or sockets.
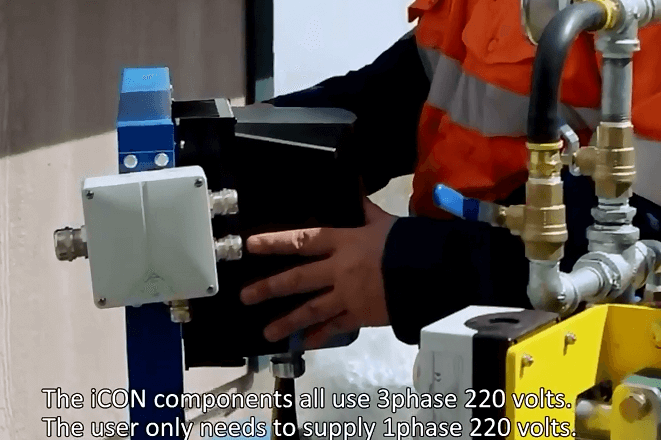
On the pump, press the green start button and use the arrow to set the Hertz to 10. As you look down on the pump, it must rotate clockwise.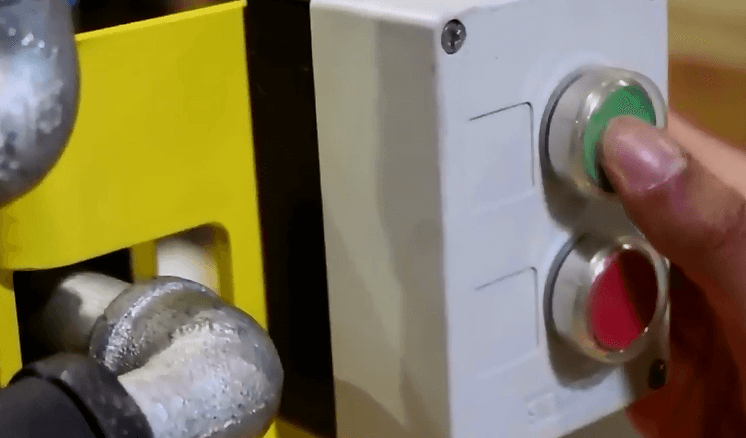
This means the slurry will be thrown in the direction of the pump outlet.
If the rotation is not correct, then please swap the connection for any two of the three wires from the VFD to the pump motor.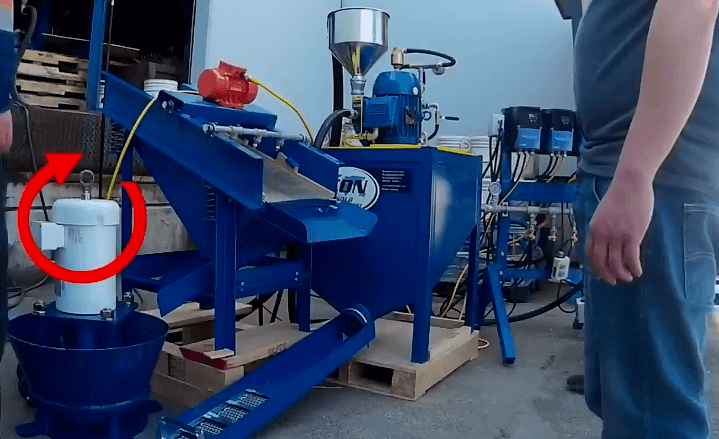
Do not operate the pump for no longer than required to verify the rotation without water.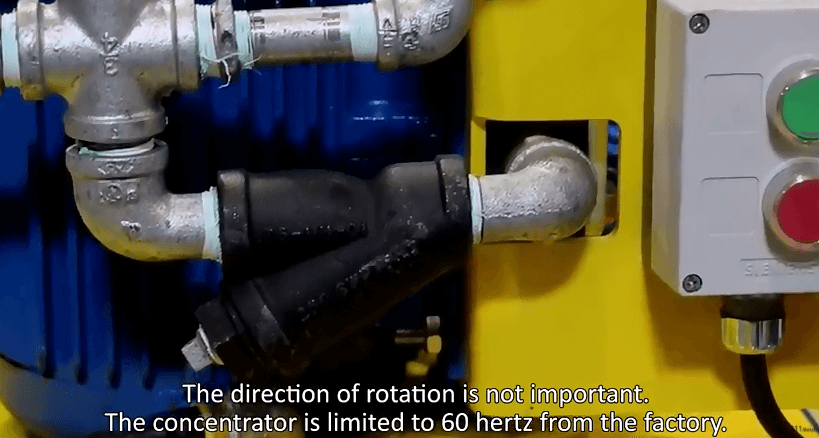
Test the concentrator by pressing the green button and using the arrow to rotate to 10 Hertz.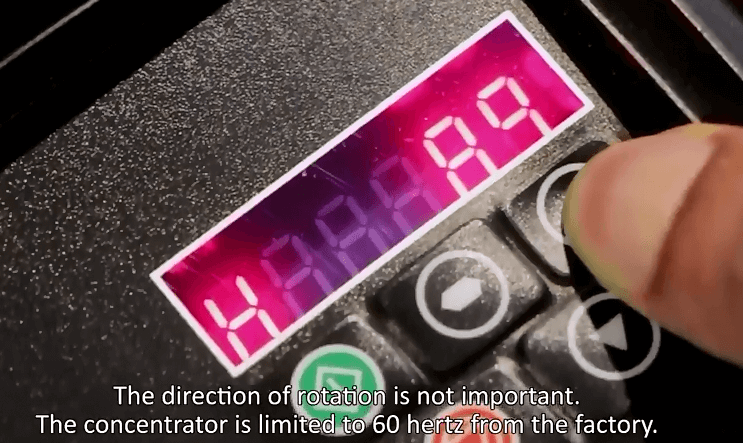
On the screen, press the green button on the VFD to start vibration.
Use the arrows to increase the vibration to its maximum.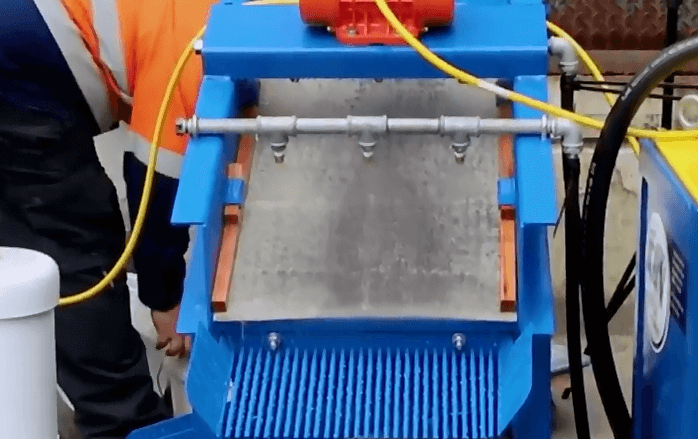
Test a small amount of sand on the screen. If the wet material seems to bounce downhill, then change the rotation of the motor by swapping any two of the 3 wires from the VFD to the screen.
The multi-step process used in this instructional video is the best way to optimise gold recovery. However, the iCON can be used as a stand-alone unit as well.
Turn the water on and set the back pressure through the iCON to 17 PSI.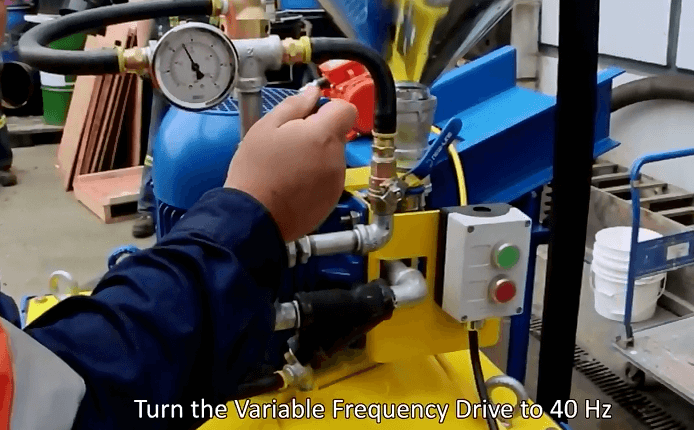
After setting the speed and the water pressure, you’re ready to start the speed through the iCON.
To begin, gather your material and prepare the iScreen. Running the iScreen at 24 hertz will ensure enough screen vibration.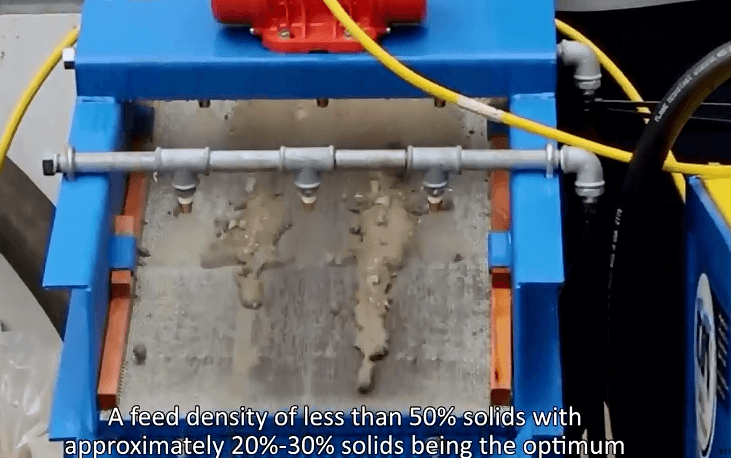
Open the spray bar valve and begin to juggle dry material directly into the iScreen to separate the fine feed from the oversized material.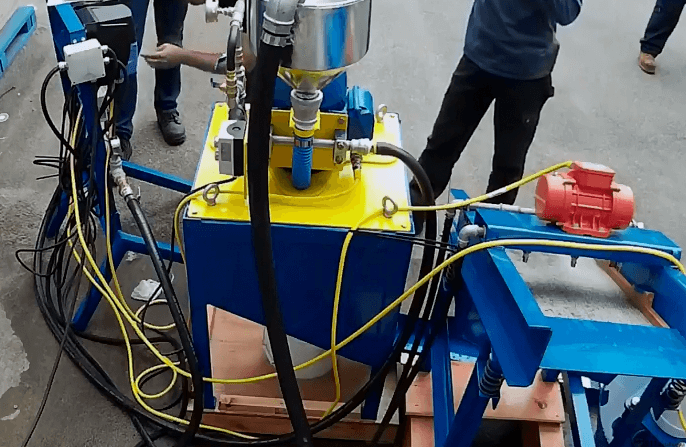
As you can see, the oversized material comes out over top of the screen, while the finer material is filtered through and reports to the underflow shoot.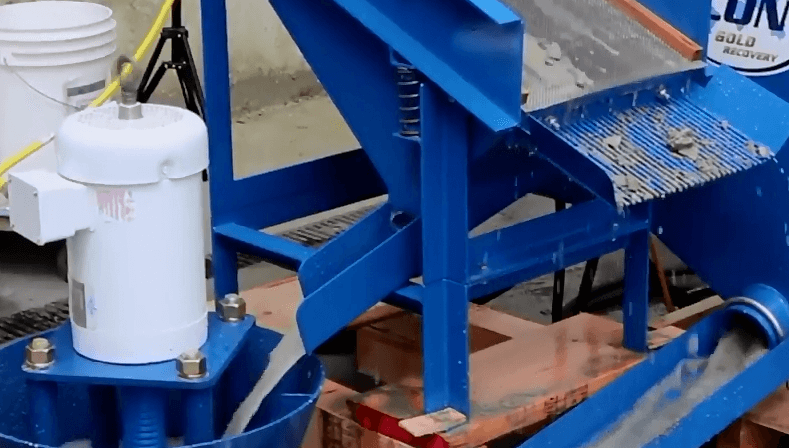
The material is transferred to a surge hopper which allows the iCON to see a consistent stream of material by regulating the flow.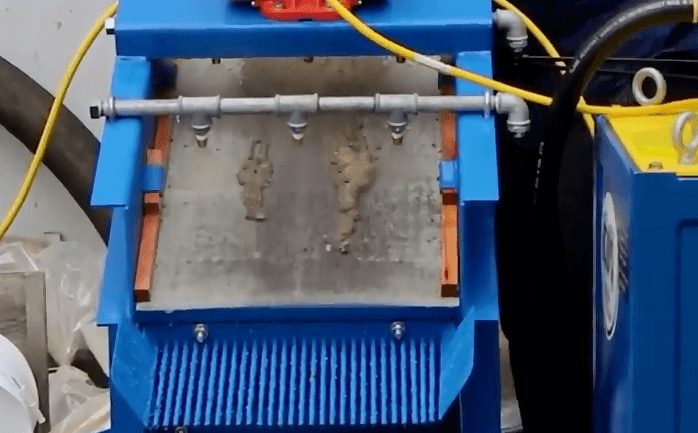
Mixing the material with water will help move through the hopper and piping more easily.
The tailing, which is a lighter, lower-density material will come out the front of the iCON. The heavy material collects in the spinning basket inside the machine.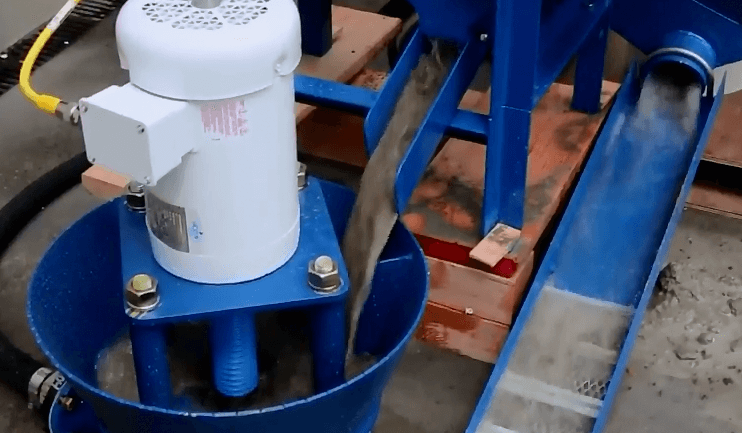
Continue feeding material during this time. After 30 minutes, turn the speed adjustment knob on the VFD all the way to the left.
Reducing the speed, will allow the gold concentrate to drop out below the machine.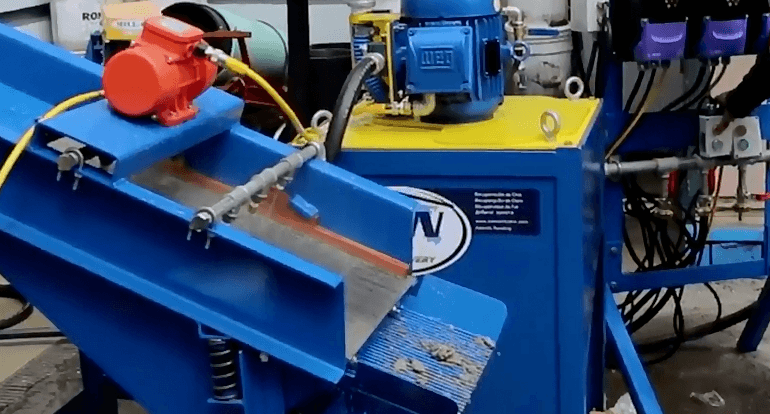
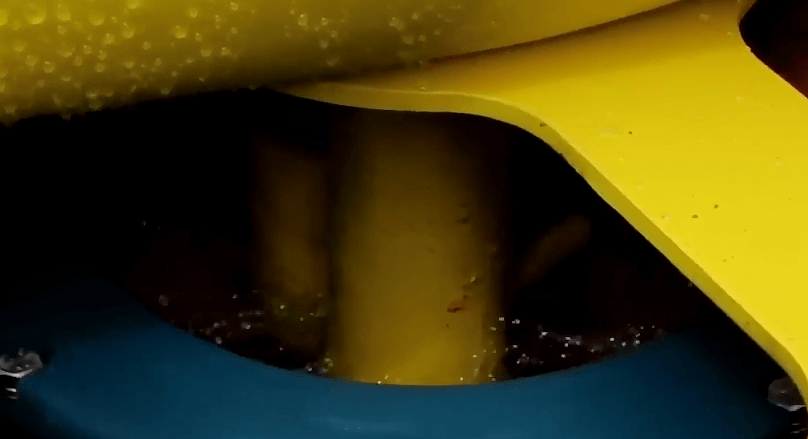
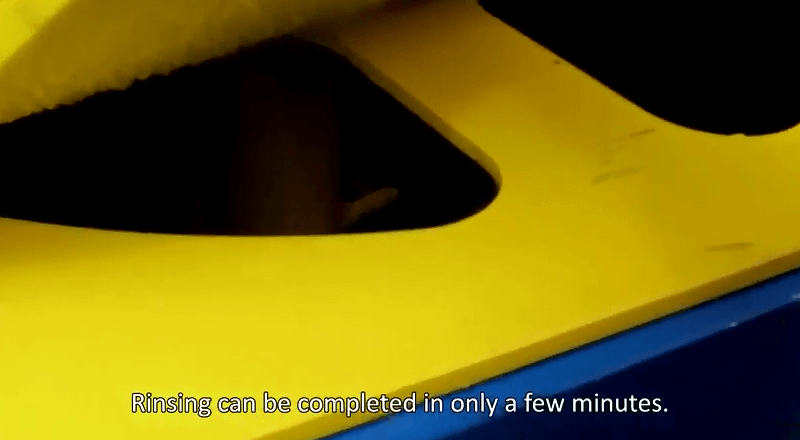
Lift up of the yellow cover on the front of the iCON and use the rinsing hose to completely rinse out the basket and the iCON so that there is absolutely no material left in the riffles or in any part of the basket.
 |
 |
Once the basked is rinsed, the machine can then be returned to maximum speed and the feed can be introduced to start the concentrated process again.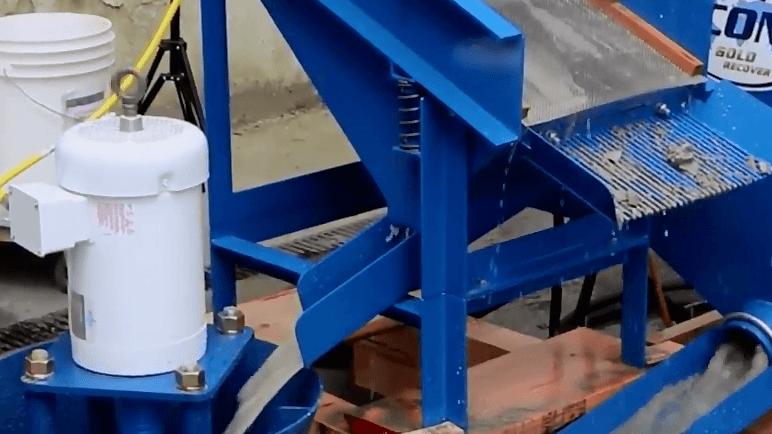
There are several methods of processing iCON concentrate.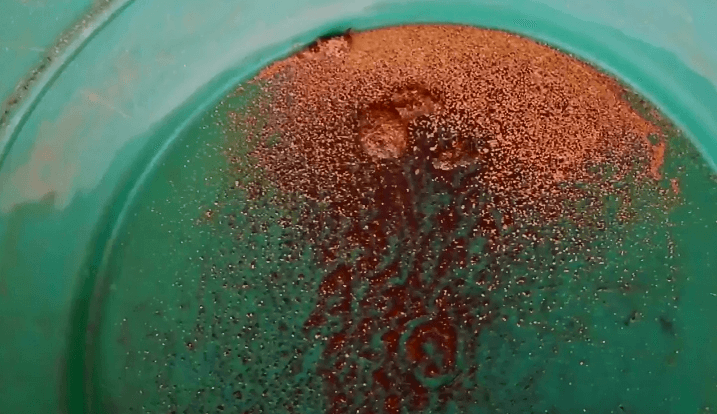
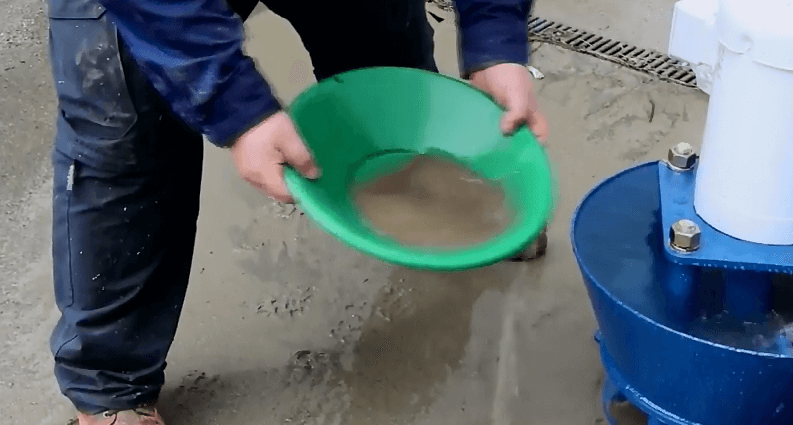
Pan the concentrate and sell directly to a smelter if the grade is high enough.
Another option is to run the concentrate over a shaking table.
These steps will ensure maximum gold recovery.
 |
 |
