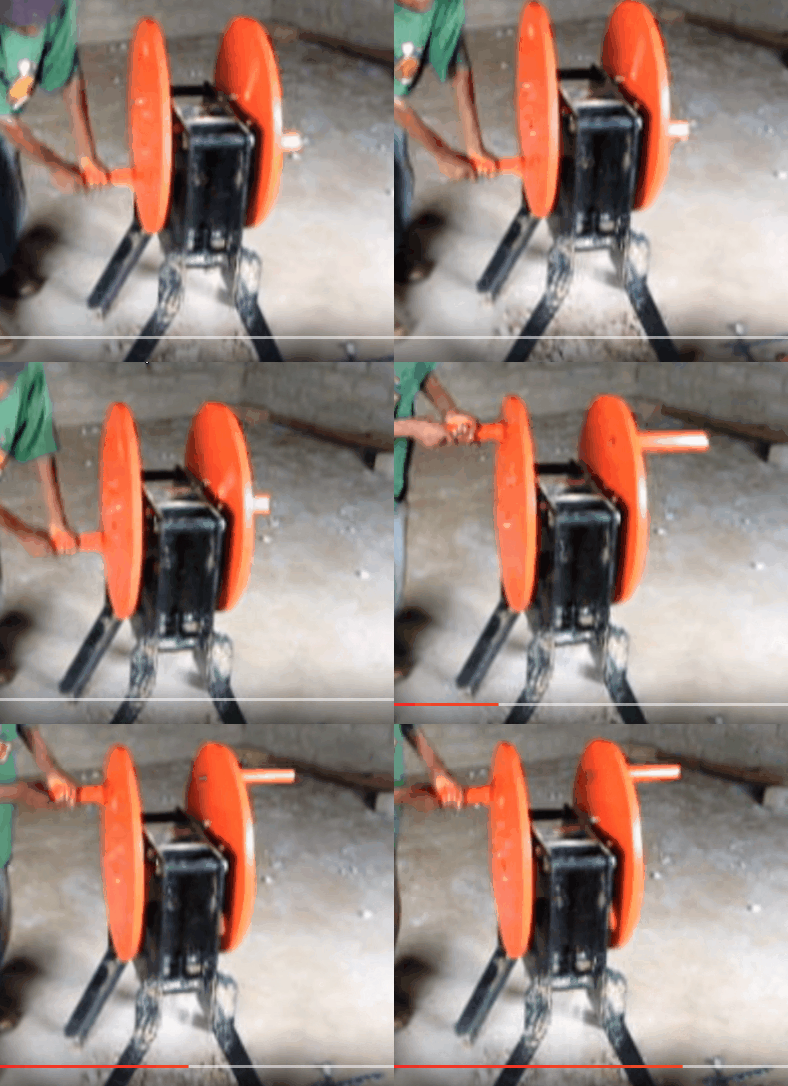
HOW TO SETUP AND USE THE HAND OPERATED ROCK CRUSHER: The rock crusher is shipped with the handle screwed to the inside of the flywheel. This must be reversed. In the case of the double flywheel version there are two handles. The handle has two flats to accept a 24mm spanner right against the flywheel. Use a 24 spanner or a shifting spanner to hold it still. The nut on the other side of the flywheel is a 30mm spanner. Unscrew the nut and re-mount the handle(s) on the outside so the flywheel can rotate.
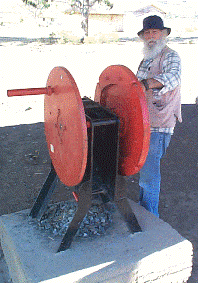
The crusher should be mounted on a base for a safe operation. For mobile work it is desirable to mount it on a metal plate or bolt it down on a temporary concrete slab. If the crusher is used on one place only, a sloping base (see picture) can be made for it. The slope makes it very easy to remove the crushed stone. The surface the machine is being bolted onto must be flat. If it is not the frame will be twisted as it is bolted down and it will not work properly. If the surface is already finished and it is not flat, use steel shims under the feet so that when it is bolted tight to the base the frame has not been twisted.
SETTING THE Hand Operated STONE CRUSHER:
1. There are three adjustment one can make on the Rock Crusher: Top adjustment of the fixed jaw, bottom adjustment of the fixed jaw and stroke adjustment for the swing jaw. Remember that the Fixed Jaw is invertible (can be turned upside down). So it can last you twice as long.
 1.1 The adjustment on the top of the Rock Crusher allows you to move the top of the Fixed Jaw (which does not move when the handle is turned) closer to the Swing Jaw (the one that does move). It is used wide open (150mm opening) for crushing large pieces of rock down to a smaller size – about 25-40mm. When crushing stone or rubble to a small size (i.e. below 16mm) it will be done in two or more stages for maximum production.
The Swing Jaw setting is normally set on the bottom hole which gives the most movement back and forth. To crush rubble (broken cement blocks and concrete), first set the top of the Fixed Jaw to the maximum opening (150mm) and the bottom of the Fixed Jaw also to the maximum size. On the second pass, or when crushing small pieces, set the top of the Fixed Jaw to the 100 position. This is the centre of the three holes. Set the bottom of the
Fixed Jaw to give you the final size you want. These smaller settings use a larger proportion of the jaws and crushes more pieces at a time. If the raw material will fit into the 100 or 50mm top opening, make the first pass with a smaller opening unless the material is particularly hard.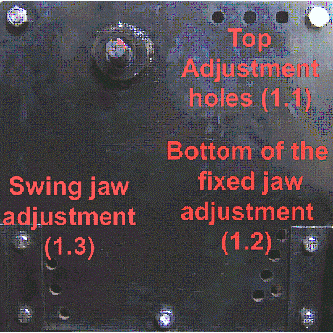
1.2 The second adjustment is at the bottom of the Fixed Jaw. This sets the distance between the bottom of the Fixed Jaw and the bottom of the Swing Jaw. The smaller the setting, the smaller the stone has to be in order to pass out of the machine. Do not try to crush stone or rubble down to a small size in one pass. It takes too much time as the lowest teeth have to do most of the grinding.
Pull the pin out of the square bar at the bottom of the Fixed Jaw and align it with the hole that suits the job at hand. There are 5 pin holes and three positions for the Square Bar. This gives 15 steps of 2 mm each. There are four holes in a row with the lowest one giving the smallest size and the top one much larger. The hole out of line near the bottom hole gives the biggest size.
Make the bottom spacing between the jaws in the range of 25 – 35mm (pin in top hole or in the hole that is out of line). This is the normal setting for the First Pass. After crushing rubble (which will generate some dust and small pieces) use a sieve and take out the larger pieces for re-crushing and make cement blocks with what passes through the sieve.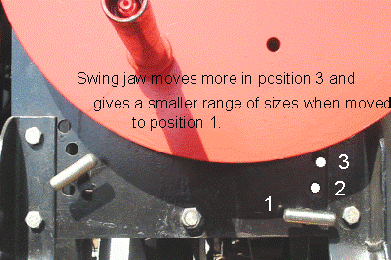
The third adjustment is the pin at the back of the Swing Jaw. See the three numbered holes in the picture. The pin is much tighter to remove than the other two because it passes through two bearings. Give it a good stiff yank. Clean it if necessary.
The bottom pin has three possible settings. When the pin is in the bottom position (1, and passes through the bearings) the bottom lip of the Swing Jaw moves up and down as well as back and forth slightly. This position passes the most material through the machine per turn. It also allows a large range of sizes to pass through. For example, if the bottom position is used and the Fixed Jaw is set so that the gap between the jaws is 15mm then the Rock Crusher will actually pass out 15-20mm pieces.
If you put in the third pin in the top-most position (3), the range of size produced is reduced. The capacity in wheelbarrows per day is also reduced as it takes more time to pass the pieces through as the Swing Jaw no longer opens and closes at the bottom releasing the stones. The middle setting (2) is a compromise between the two others, allowing a modest range of sizes through. Another type of hand powered rock crusher.
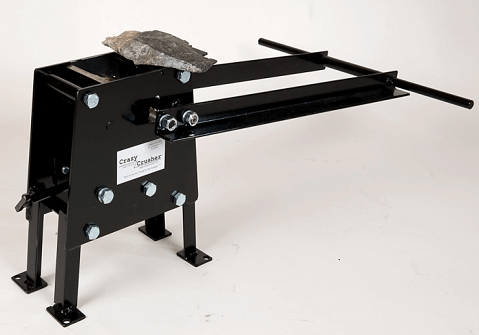
If you are crushing rubble, use the lowest setting (1).
General Settings to crush raw material by hand:
- Set the top of the Fixed jaw to the 150 or 100mm position.
- Set the bottom of the Swing Jaw to a setting of 20 to 25mm (measure the opening with the flywheel “at rest”).
- Set the bottom of the Swing Jaw to the lowest position so that it moves back and forth as well as up and down.
- Crush a quantity of stone and screen or sieve the output. You can also use a rake.
- Move the top of the Fixed Jaw in to either 100 or 50mm (depends what you want to achieve – use 50mm if the pieces are small).
Crushing rubble for brick making: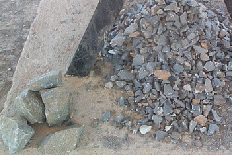
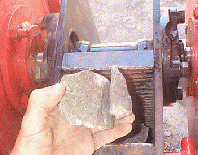 Set the bottom pin of the Fixed Jaw to the bottom hole nearest to the Swing Jaw. This will make the gap about 6 to 8mm. The handle on the Square Bar cannot be turned to a fine adjustment (2mm each) when the jaws are this close together – the pin must be removed, the Square Bar rotated, and the pin re-inserted if you want to change the spacing of the jaws.
Re-grind the material sieved out of the first pass. It might be as little as 1/4 of the original volume. It will generate a lot of very small particles and has a slower throughput than before. Sieve the output again for any flat flakes that have made it through the whole process uncrushed. Keep these aside and dump them in when the next batch goes through for a second pass.
Contact newdawnengineering.com for details.
